How to Use ESP32 with 18010P Vibration Sensor Module — Adjustable Sensitivity
How to Use ESP32 with 18010P Vibration Sensor Module — Adjustable Sensitivity
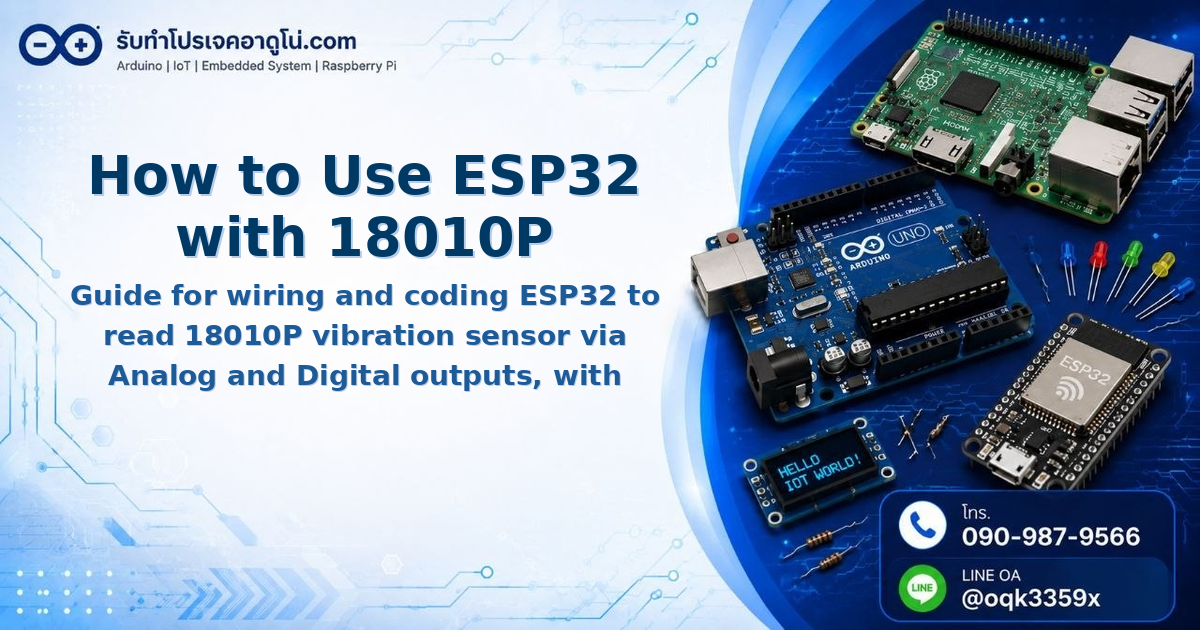
This guide walks through wiring and coding an ESP32 to read the 18010P vibration sensor using both Analog and Digital outputs, with an active buzzer that sounds an alarm when vibration is detected.
Parts Required
- ESP32 NodeMCU ESP-WROOM-32 board (Dual Core, CP2102)
- Micro USB Type B to USB 2.0 Type A cable, 1 meter
- Power Adapter micro USB 5V 2A
- Breadboard, 170 points
- ESP32 Screw Shield expansion board (30 Pin)
- Male-to-male, male-to-female, and female-to-female jumper wires, 20 cm each
- 18010P Vibration Sensor module with onboard sensitivity potentiometer (VR)
- Active Buzzer Module compatible with 3.3V–5V
Wiring Diagram
Wire connections are summarized below.
| ESP32 | Device | Pin / Supply |
|---|---|---|
| VIN | 18010P | VCC |
| D23 | 18010P | DO |
| GND | 18010P | GND |
| D32 | 18010P | AO |
| 3V3 | Buzzer | VCC |
| D22 | Buzzer | I/O |
| GND | Buzzer | GND |
Note: VIN on ESP32 supplies 5V to the 18010P module. The buzzer uses 3V3 as per the module’s specification on this board.
Arduino Code for ESP32
// Pin definitions
const int digitalPin = 23;   // Digital Output from 18010P
const int analogPin  = 32;   // Analog Output from 18010P
const int buzzerPin  = 22;   // Active Buzzer control pin

// Vibration detection threshold
const int ANALOG_THRESHOLD = 3800;

void setup() {
  Serial.begin(9600);

  // Configure pin modes
  pinMode(digitalPin, INPUT);
  pinMode(buzzerPin, OUTPUT);

  // Keep buzzer off initially
  digitalWrite(buzzerPin, LOW);
}

void loop() {
  // Read sensor values
  int digitalValue = digitalRead(digitalPin);
  int analogValue  = analogRead(analogPin);

  // Display values on Serial Monitor
  Serial.print("Analog: ");
  Serial.print(analogValue);
  Serial.print(" | Digital: ");
  Serial.println(digitalValue);

  // Detect vibration
  if (analogValue < ANALOG_THRESHOLD || digitalValue == 0) {
    Serial.println("Vibration Detected");

    // Sound the buzzer
    digitalWrite(buzzerPin, HIGH);
    delay(200);
    digitalWrite(buzzerPin, LOW);
  }

  delay(100);
}
Adjustable points: Modify ANALOG_THRESHOLD to match your environment. Increase the value (e.g., 3900) for easier detection, or lower it for stronger vibration-only triggers.
Upload and Test Procedure
- Open Arduino IDE
- Paste the code above into a new sketch
- Select the correct Port: Tools → Port → choose the connected port
- Select the board type: Tools → Board → ESP32 Dev Module
- Click Upload from the Sketch menu
- Wait for the “Done uploading” message
- Open Serial Monitor and set Baud Rate to 9600
Reading and Interpreting Values
Normal state (no vibration)
- Analog reading above 3800, typically around 4000
- Digital reading is 1
- LED on the 18010P module is off or dim
When vibration occurs, one of three scenarios may appear:
| Scenario | Analog | Digital | Meaning |
|---|---|---|---|
| 1 | < 3800 | 1 | Light vibration detected |
| 2 | < 3800 | 0 | Moderate to strong vibration |
| 3 | > 3800 | 0 | Strong vibration (rare case) |
When vibration is detected, “Vibration Detected” prints to Serial Monitor, the buzzer emits a short sound, and the LED on the sensor module blinks clearly.
Adjusting Sensor Sensitivity
Turn the onboard potentiometer (VR) on the 18010P module:
- Turn left → higher sensitivity, detects light vibrations
- Turn right → lower sensitivity, requires stronger vibrations
After adjusting, monitor the Serial Monitor output to find the optimal setting for your application.
Summary
The 18010P module delivers both analog and digital vibration data, making it flexible for different use cases. For applications such as monitoring machinery vibration or building an alarm system, you can extend the code by adding ESP32 Wi-Fi capabilities to send alerts via LINE Notify or upload data to a server.
Reference Video
อยากทำโปรเจคแบบนี้?
รับทำโปรเจค Arduino / IoT จบงานไว ส่งงานครบ พร้อมสอน
If you need Arduino project service or urgent IoT development, see full service details on the home page
จ้างทำโปรเจคเลย